
Why do so many business photos fall flat—washed-out faces, bland backdrops, the kind of images that barely register in a busy social feed? I hear this worry from entrepreneurs all the time: “How can I make my portraits look as bold and engaging as my brand?” The reality is that smart lighting can take any business image from forgettable to show-stopping. Enter photeeq photo ideas—a set of practical prompts designed for anyone who wants their people and products to shine (literally).
Maybe you’ve seen those vibrant Instagram shots where colors pop and subjects seem almost three-dimensional. Or maybe you’re wondering if you need a studio full of gear just to pull off something different with your next headshot or team photo. Here’s the good news: with portable tools like FX Lights and some insider know-how, even beginners can get results that rival pro studios.
In this series on photeeq photo ideas, we’ll break down simple yet powerful lighting prompts anyone can use today—no jargon required. If you want compelling portraits that tell your story at a glance, let’s dive in.
Portrait Lighting Prompts That Transform Any Subject
There’s an art to making portraits feel alive—the sort of photograph where eyes sparkle, edges glow just enough, and shadows add intrigue rather than muddle the details. Most folks settle for overhead office lights or harsh sunlight by default. But what if your next profile pic or company bio shot could have drama built right in?
When it comes to photeeq photo ideas for portraiture, it’s less about fancy equipment and more about intention:
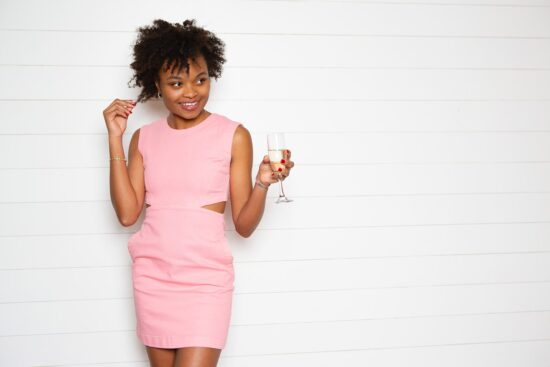
- Backdrops Matter: Place your subject in front of a dark background—it instantly draws attention forward.
- Rim Light Magic: Use an FX Light behind or slightly above your model to create a crisp outline around hair or shoulders. This trick separates them from the backdrop like nothing else.
- Punchy Color Contrast: Mix up complementary hues (think red against cyan or purple paired with yellow). Want bolder vibes? Flood one side of the face with color while keeping the other neutral—it makes facial features leap off the screen.
- Light Painting For Energy: Grab a tripod, set your camera’s shutter open for several seconds in low light, then move an FX Light around your subject’s edges mid-shot. The result? Surreal halos and streaks that give static poses unexpected life.
- Create Depth With Multiple Lights: One light up front often flattens everything out; layering background and foreground lights adds real dimension—and keeps viewers glued longer.
All of which is to say: small tweaks go a long way.
Picture this: You’re snapping new team headshots after hours at work—everyone’s tired under those fluorescent tubes. Instead, kill most ambient lights except one soft lamp behind each person (FX Lights are ideal here). Add another source aimed gently at the cheekbones but dialed down low so it doesn’t wash out skin tone.
Now run through a few takes using blue on one edge and orange on another (or swap colors based on brand palette). In minutes you’ve moved beyond basic ID cards into editorial territory—effortlessly highlighting personal style alongside professionalism.
You might not nail every setup first try—but practice breeds confidence fast when you start playing with these combinations.
The Science Behind Dramatic Portrait Lighting Using Photeeq Photo Ideas
| Prompt Technique | Main Effect Produced | User Scenario Example |
| Add Rim/Hair Light From Behind Dark Background | Makes subject pop from surroundings; reduces “flatness” common with single-source lighting. | Shooting leadership bios against navy cloth—add subtle golden rim for standout silhouettes in LinkedIn banners. |
| Create Color Contrasts With Complementary Tones (red/cyan etc.) | Bumps vibrancy; catches viewer eye scrolling feeds quickly; creates mood without props/filters. | A startup founder wants fresh website images—purple/yellow split-lighting matches new logo colors perfectly. |
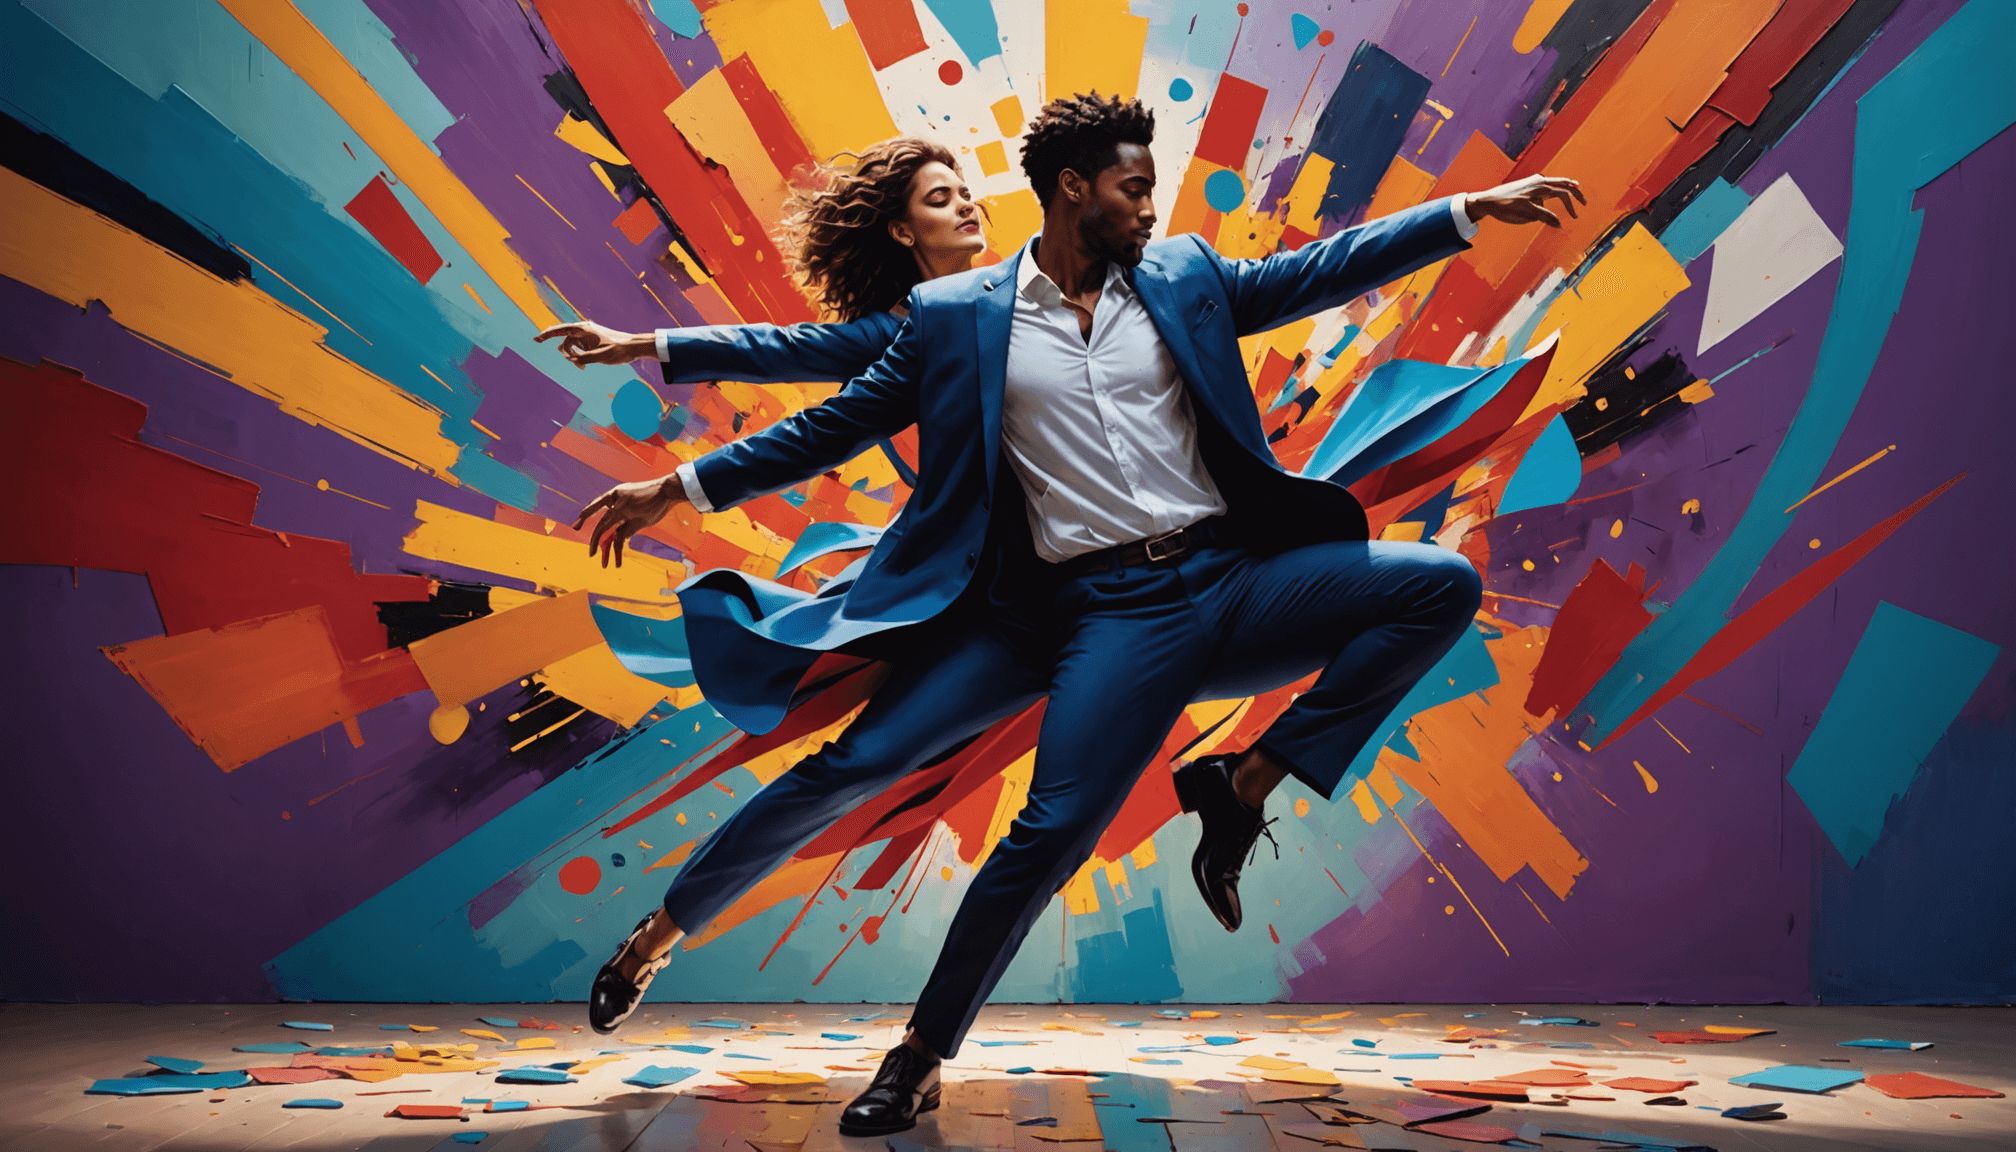
| Light Paint During Long Exposure Sessions | Adds motion blur/light trails around still subject; injects energy & modern twist into traditional corporate settings. | An artist needs promo shots—swirling colored light arcs frame their silhouette while staying sharp center-frame. |
| Duo-Lighting To Build Foreground/Background Depth | Keeps both face & scene interesting; prevents muddy shadows; guides audience focus across whole composition—not just middle third of image. |
Here’s where experience meets experimentation:
- If you want more pronounced separation between subject/horizon line indoors at night?
- Tilt rear FX Light upward onto shoulders only—not straight-on—to mimic magazine-style covers without harsh highlights over hairline or cheeks.
Think about how photographers shoot musicians backstage under colored gels—they rarely settle for monotone washes! And neither should you if standing out matters.
What really elevates these photeeq photo ideas isn’t tech specs alone—it’s being brave enough to ditch auto mode once in awhile. Set aside twenty minutes after sunset with someone willing (kids work wonders as test models), cycle through two backgrounds (deep charcoal versus plain white), try mixing neon greens against reds—and see what unfolds.
At worst? You end up deleting half the roll before finding gold.Explore even more actionable photeeq photo ideas here for instant inspiration straight from creators pushing boundaries daily via mobile gear alone. There’s no finish line—only fresh ways to spotlight stories worth telling again tomorrow.
Technical Tips for Next-Level Photeeq Photo Ideas
What’s the biggest struggle with photeeq photo ideas? Most folks know the gear is clever, but putting all those creative features to work can feel overwhelming. Plenty of people ask: how do I get sharp, vibrant results every time? Why does my light painting look blurry or flat? How do these influencers make such crisp product shots on their phones?
All of which is to say: it’s rarely about having better gadgets—it’s about nailing your approach. With Photeeq FX Lights and filters, a few smart tactics take you from “random snaps” to scroll-stopping images.
- Tripod = Stability: Even the most advanced phone can’t beat physics—a solid tripod turns shaky hands into razor-sharp photos. Whether shooting long exposures or stacking up multiple lighting effects, rock-steady support makes all the difference.
- Manual Mode Matters: Flip off auto—seriously. Set your shutter speed low (think 2-10 seconds) for any kind of light painting or kinetic lighting. Lock ISO as low as possible to keep things clean.
- Layer Your Lighting: Don’t settle for one Photeeq FX Light angle. Try mixing colors—one behind, one from the side—and watch products pop and portraits turn cinematic.
- Angles & Distance Play Huge Roles: If your first shot looks boring, shift your camera a foot left or right; move lights closer/farther until shadows fall in interesting places.
- Tweak Your Timing: The funny thing about light painting is that timing really is everything. Practice tracing shapes quickly for bold streaks—or slow down for soft washes of color.
The upshot? Every trick above unlocks more out of Photeeq’s unique accessories—and helps those vivid social posts actually look like what you see in your head.
Composition Prompts Using Photeeq Photo Ideas
Anyone can shine colored LEDs at a subject, but what if you want wow factor? That’s where composition comes into play—the secret weapon separating average snaps from eye-catching content on #Photeeq and beyond.
Frame a friend or product not just with props or backdrops, but with literal shapes made by moving light.
- Create leading lines: A quick flick of an FX Light in manual mode can send glowing trails arcing toward your main subject—directing viewers’ eyes exactly where you want them.
- The Rule of Thirds Grid Isn’t Dead: Sure, it feels old-school, but aligning faces or objects along grid lines still works wonders—even when you’re working with dynamic lighting rather than classic natural sunlight.
- Naturally Frame Subjects: Use doorways, mirrors—or even windows illuminated by a colorful rim light—for built-in context and drama. The best creators on TikTok regularly combine natural architectural frames with surreal LED washes for maximum impact.
All of this lets you put theory into practice—turning ordinary scenes into mini art installations fit for social media feeds and storefront banners alike.
Pushing Boundaries: Creative Concepts With Photeeq Photo Ideas
Let’s be honest: Some nights are perfect for bold experiments—the sort that spark new trends across Instagram Reels and influencer TikToks.
All roads lead back to creativity with photeeq photo ideas when you start pushing beyond basic setups:
– Double Exposures Meet LED Drama: With most mobile apps now supporting double exposure modes, overlay two separate shots—a standard portrait plus a wild streaky background painted with Photeeq FX Lights.
– Silhouettes Go Bold: Instead of fighting against dark backgrounds at night, embrace them! Place an intense colored FX Light behind someone so their outline glows while details stay mysterious.
– Reflections And Shadows In Focus: Shoot near glass tables or puddles after rain—the reflections multiply every burst of color you create.
– Night Cityscapes Get New Life: Take city skyline shots during blue hour and swirl bright LEDs through the foreground—the resulting trails mimic traffic movement but add extra depth no filter can fake.
Edit Like A Pro: Post-Processing Tips For Standout Photeeq Photo Ideas
If there’s one area beginner creators worry about most—after getting cool raw images—it’s making those photos look polished without losing authenticity. Here’s what sets apart standout #photeeq photo ideas from also-rans on e-commerce listings and reels:
- Adjust White Balance Carefully: LEDs throw strong color casts. Tune white balance sliders until skin tones (or product hues) feel right—not too warm, not cartoonishly blue/purple unless intentional.
- Enhance Contrast Thoughtfully: Boost highlights so luminous parts jump out without turning dark zones muddy—especially important when layering multiple colored lights in one shot.
- Remove Annoying Reflections Or Glare Spots: A simple heal/clone brush gets rid of unwanted mirror balls bouncing off shiny packaging (or glasses), letting focus return to form rather than accident.
- Light Leak Overlays For Atmosphere: Add subtle digital overlays mimicking analog film leaks—instant vintage flair meets modern vibrancy (just don’t overdo it).
- Color Grade To Match Mood: Clever color grading brings everything together—subtle tints evoke calmness while deep neons crank up energy levels fitting late-night shoots and party promos alike!
The problem is, chasing trends alone never guarantees originality—but practicing thoughtful post-processing ensures each image stands out naturally within fast-moving feeds—all while showcasing what makes photeeq photo ideas genuinely fresh in today’s visual landscape.
Photeeq Photo Ideas: Setup Recommendations That Actually Work
Ever scrolled through Instagram and wondered why your mobile shots look flat compared to those wild, color-soaked Photeeq photo ideas? The upshot is this: the gear and setup matter. Most folks try to wing it with whatever lamp’s lying around, but that leaves you stuck in mediocrity.
All of which is to say—if you want those vivid gels, sharp product highlights, or streaky light-painting vibes you see on #Photeeq posts, start by sorting your environment and tools. Here’s how I’ve seen serious creators get repeatable results:
- Darken the shooting space: Ambient light kills contrast. Pull the curtains, shut off lamps—let your FX Lights shine.
- Double down on FX Lights: One won’t cut it for complex looks. Layer two (or more) for multi-tone effects across portraits or objects.
- Tripod or stabilizer: Essential for any long exposure—especially if you’re experimenting with kinetic lighting or precise product frames.
- Remote shutter/timer: Nothing wrecks a shot like camera shake from tapping the screen. Use a Bluetooth remote or set a timer. It’s basic but crucial.
- Light modifiers/diffusers: Harsh direct LEDs create ugly hotspots. A sheet of tracing paper over your FX Light softens edges beautifully—DIY diffusing works wonders here.
- Reflective surfaces: Shiny tables, mirrors, even aluminum foil can bounce colored light back into frame for added depth without fancy gear.
The funny thing about these “simple” tips? Miss just one and your results go from pro-grade to amateur hour. This isn’t theory; it’s what separates scroll-stopping images from forgettable snaps—and nearly every viral Photeeq tutorial boils down to nailing these basics first.
Photeeq Photo Ideas For Any Subject
So what actually works once you’ve got your lights and dark room sorted? The problem is too many tutorials pigeonhole photeeq photo ideas into neon selfies only—but there are bigger moves on the table.
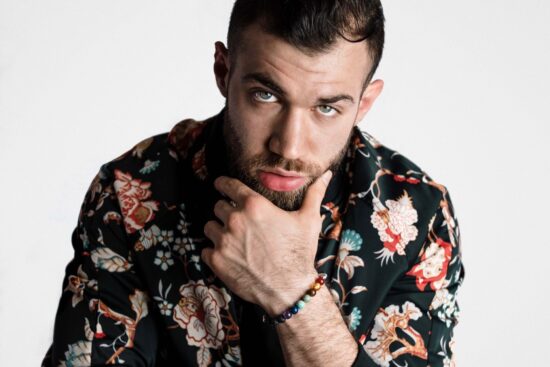
– Portraits: Use rim lighting behind subjects for a sci-fi halo effect (classic #Photeeq). Or use side-gel coloring for moody character studies.
– Products: Angle an FX Light below glassware or tech gadgets for gradient backgrounds—they pop off e-commerce pages.
– Architecture: Backlight architectural models with color washes; throw spots onto white walls at night for surreal cityscapes.
– Nature: Stick an FX Light under leaves/flowers pre-dawn—the result flips expected “nature” hues upside-down.
– Urban scenes: Use kinetic light painting against graffiti walls after dark—TikTok lives on this stuff.
– Abstract compositions: Wave an FX Light slowly during long exposures; instant abstract art straight out of camera.
– Still life: Set metallic props near reflective panels and layer colored gels for magazine-ready drama.
– Night photography: There’s no substitute—a tripod plus moving colored LEDs lets you write words in air or paint entire parks in neon.
You don’t need studio budgets—just steal these approaches from Photeeq pros who experiment outside the box. Sometimes the best results show up when you mash genres together (think: product + kinetic painting). All roads lead to attention-grabbing shots if you play with angles and layering colors right.
The Style Playbook: Visual References To Elevate Your Photeeq Photo Ideas
Here’s where things get interesting. Everyone parrots “neon aesthetic” as shorthand—but style runs deeper than buzzwords if you want your photeeq photo ideas to hit hard instead of looking like last year’s TikTok trend.
The high road here is picking reference styles that dial up mood while giving nods to classic visual culture—the low road is copying generic presets blindly. Let’s map out real options:
– Neon Aesthetic: Think saturated magentas/blues on black backgrounds; channel retro diner signs and Blade Runner streetscapes.
– Cyberpunk: Go deeper than just bright colors—layer reflections, smoke/fog machines if available, shoot through rain-soaked glass for future-noir grit.
– Minimalist: Strip color palettes back—one bold gel against clean shapes pops harder than chaos.
– Surreal: Distort reality using movement blur with gel overlays; try double exposures or mirror tricks alongside shifting light sources.
– Film Noir: Black-and-white mode plus single point-source rim lighting yields shadow-heavy mystery shots—even everyday scenes feel cinematic this way.
– Retro/Vintage: Tone down saturation; warm gels paired with old-school props mimic ‘70s album covers or analog film stills effortlessly.
You see all these referenced across influencer feeds and brand campaigns because they work—and each pushes photeeq photo ideas beyond obvious tropes. The trick isn’t picking one at random but matching style to story: cyberpunk vibe sells edgy products; minimalist draws eyes in cluttered feeds; noir fits gritty portraits every time.
The upshot? Style is leverage—it gives context so even simple setups land big impact online. And let’s face it… In today’s flood of content, memorable visuals aren’t optional—they’re survival strategy.